Our final course before portfolio was on printmaking! The teachers for this course were the artists and printmakers Maria Pihl (Carborundum and Woodcut) and Rita Vargas (Etching, Aquatint, Soft Ground), who introduced us to a plethora of printmaking techniques.
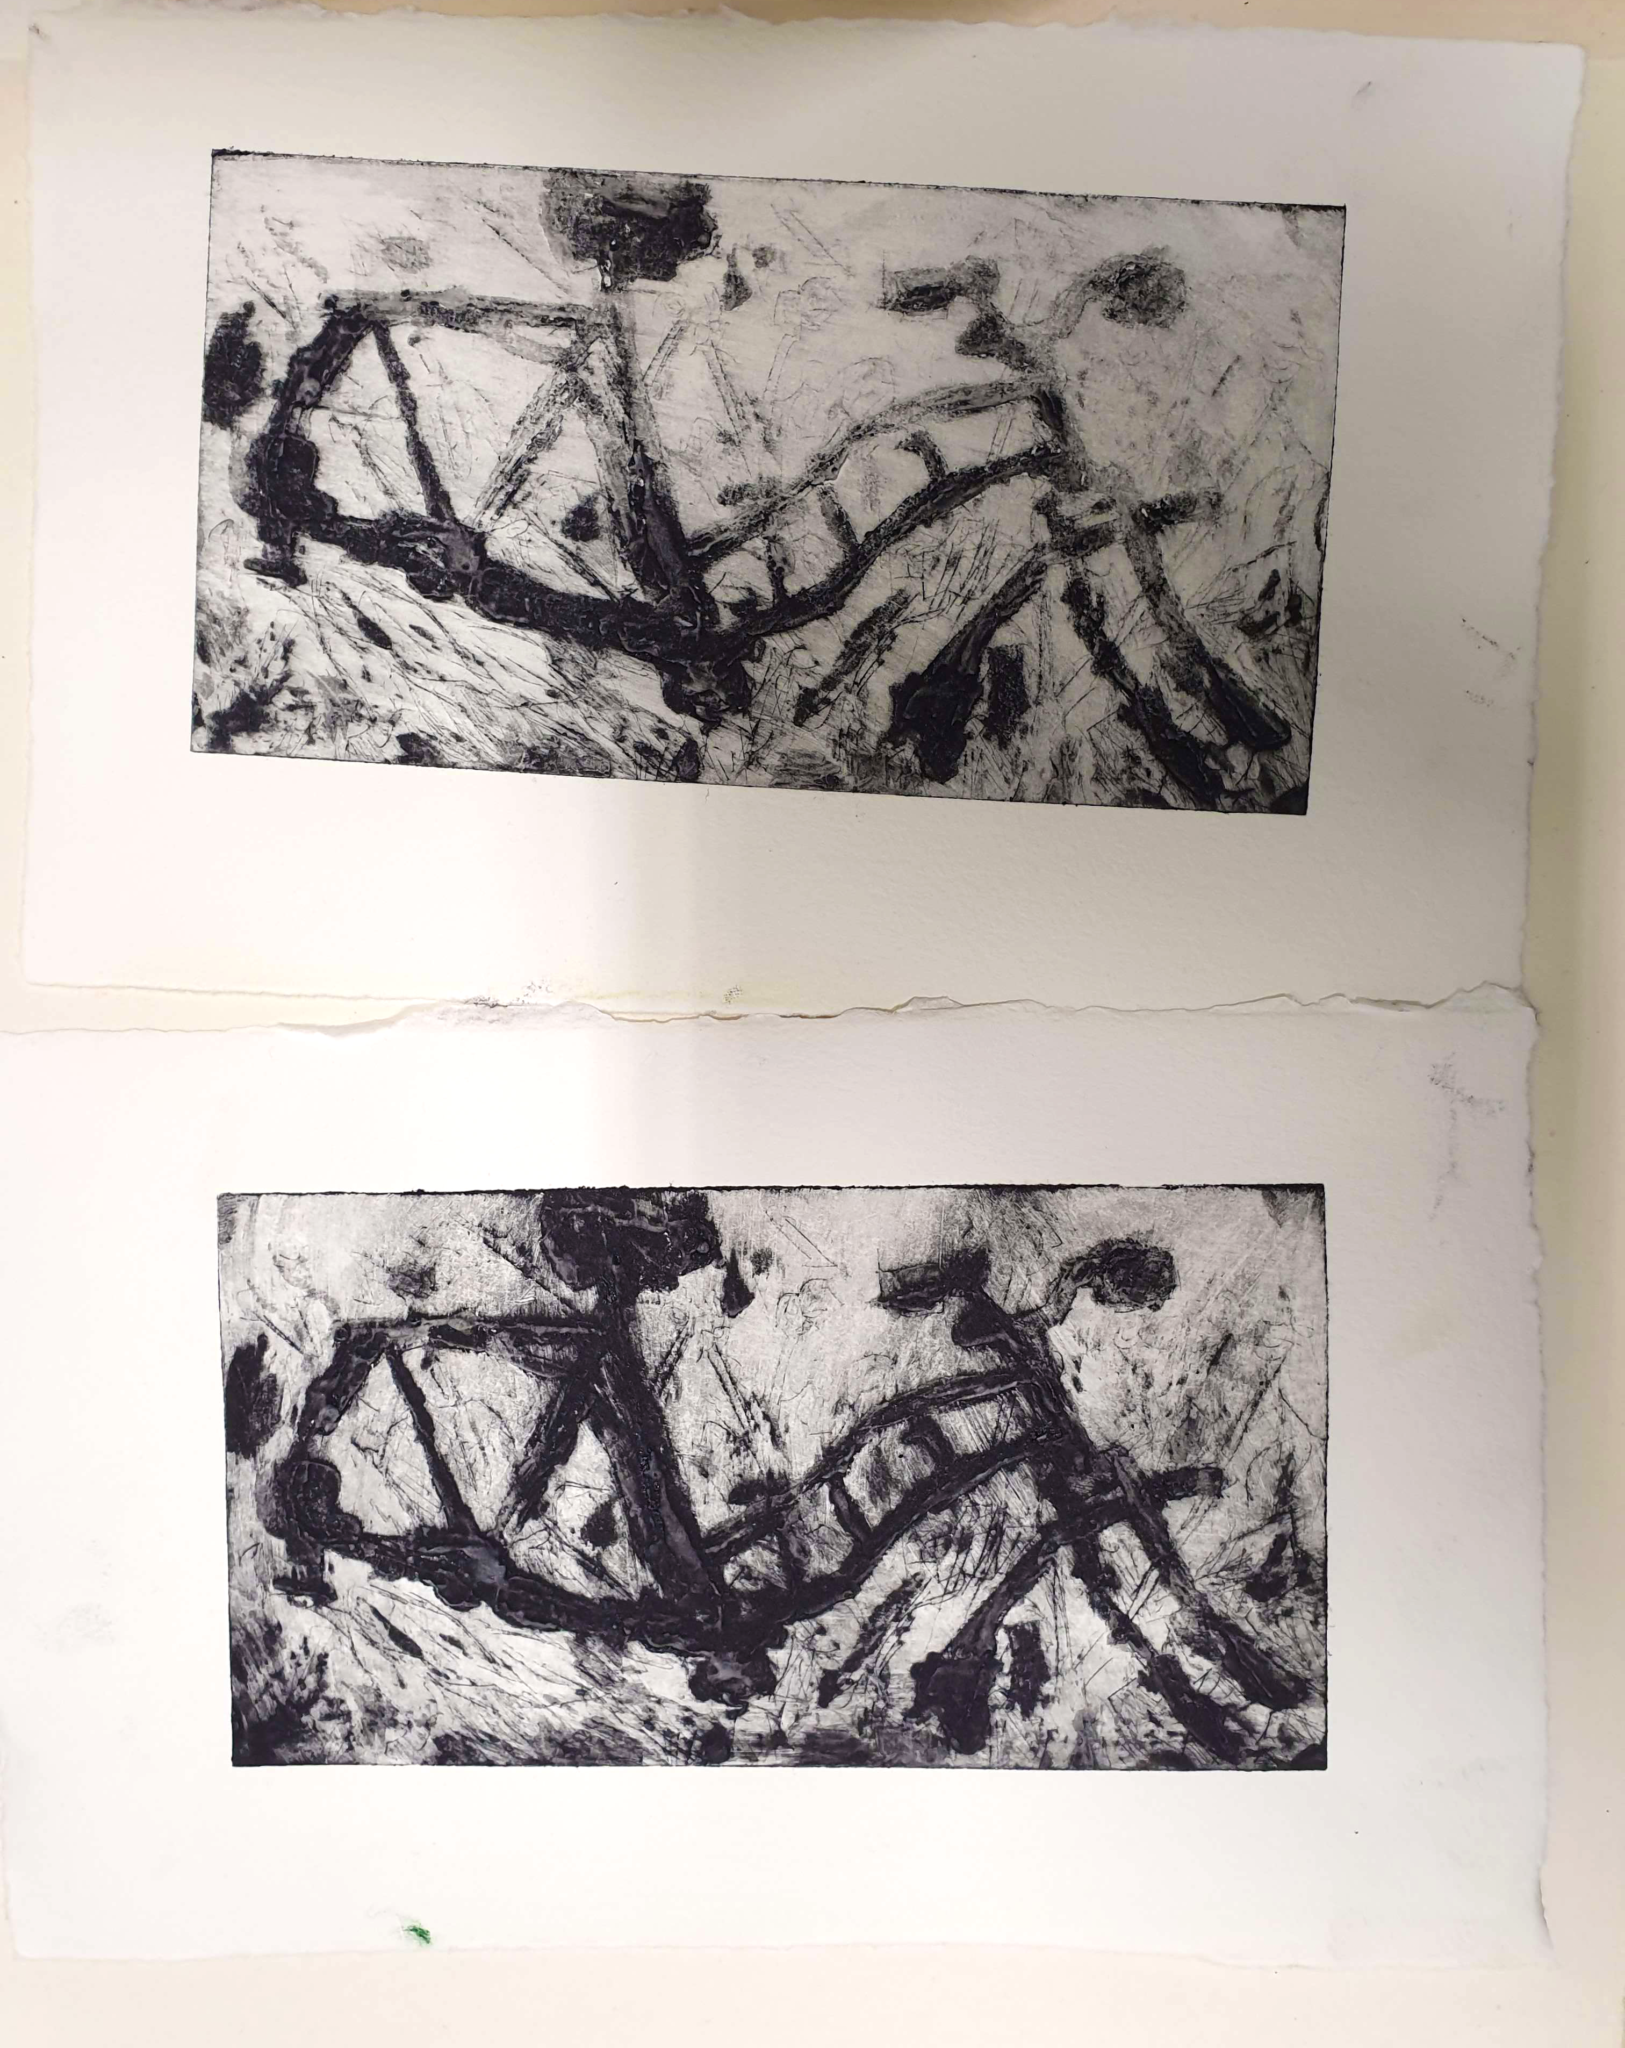
Our first technique was Carborundum Collagraph. In the technique you mix carborundum sand and acrylic gesso in various proportions and apply that on a metal plate – aluminum in our case. Depending on the mixture the section of the plate will then absorb different amounts of ink while inking, creating lighter and darker areas on the final print. It is an intaglio method, so combining it with drypoint – in which lines are scored to the plate with a sharp metal tool – was possible.
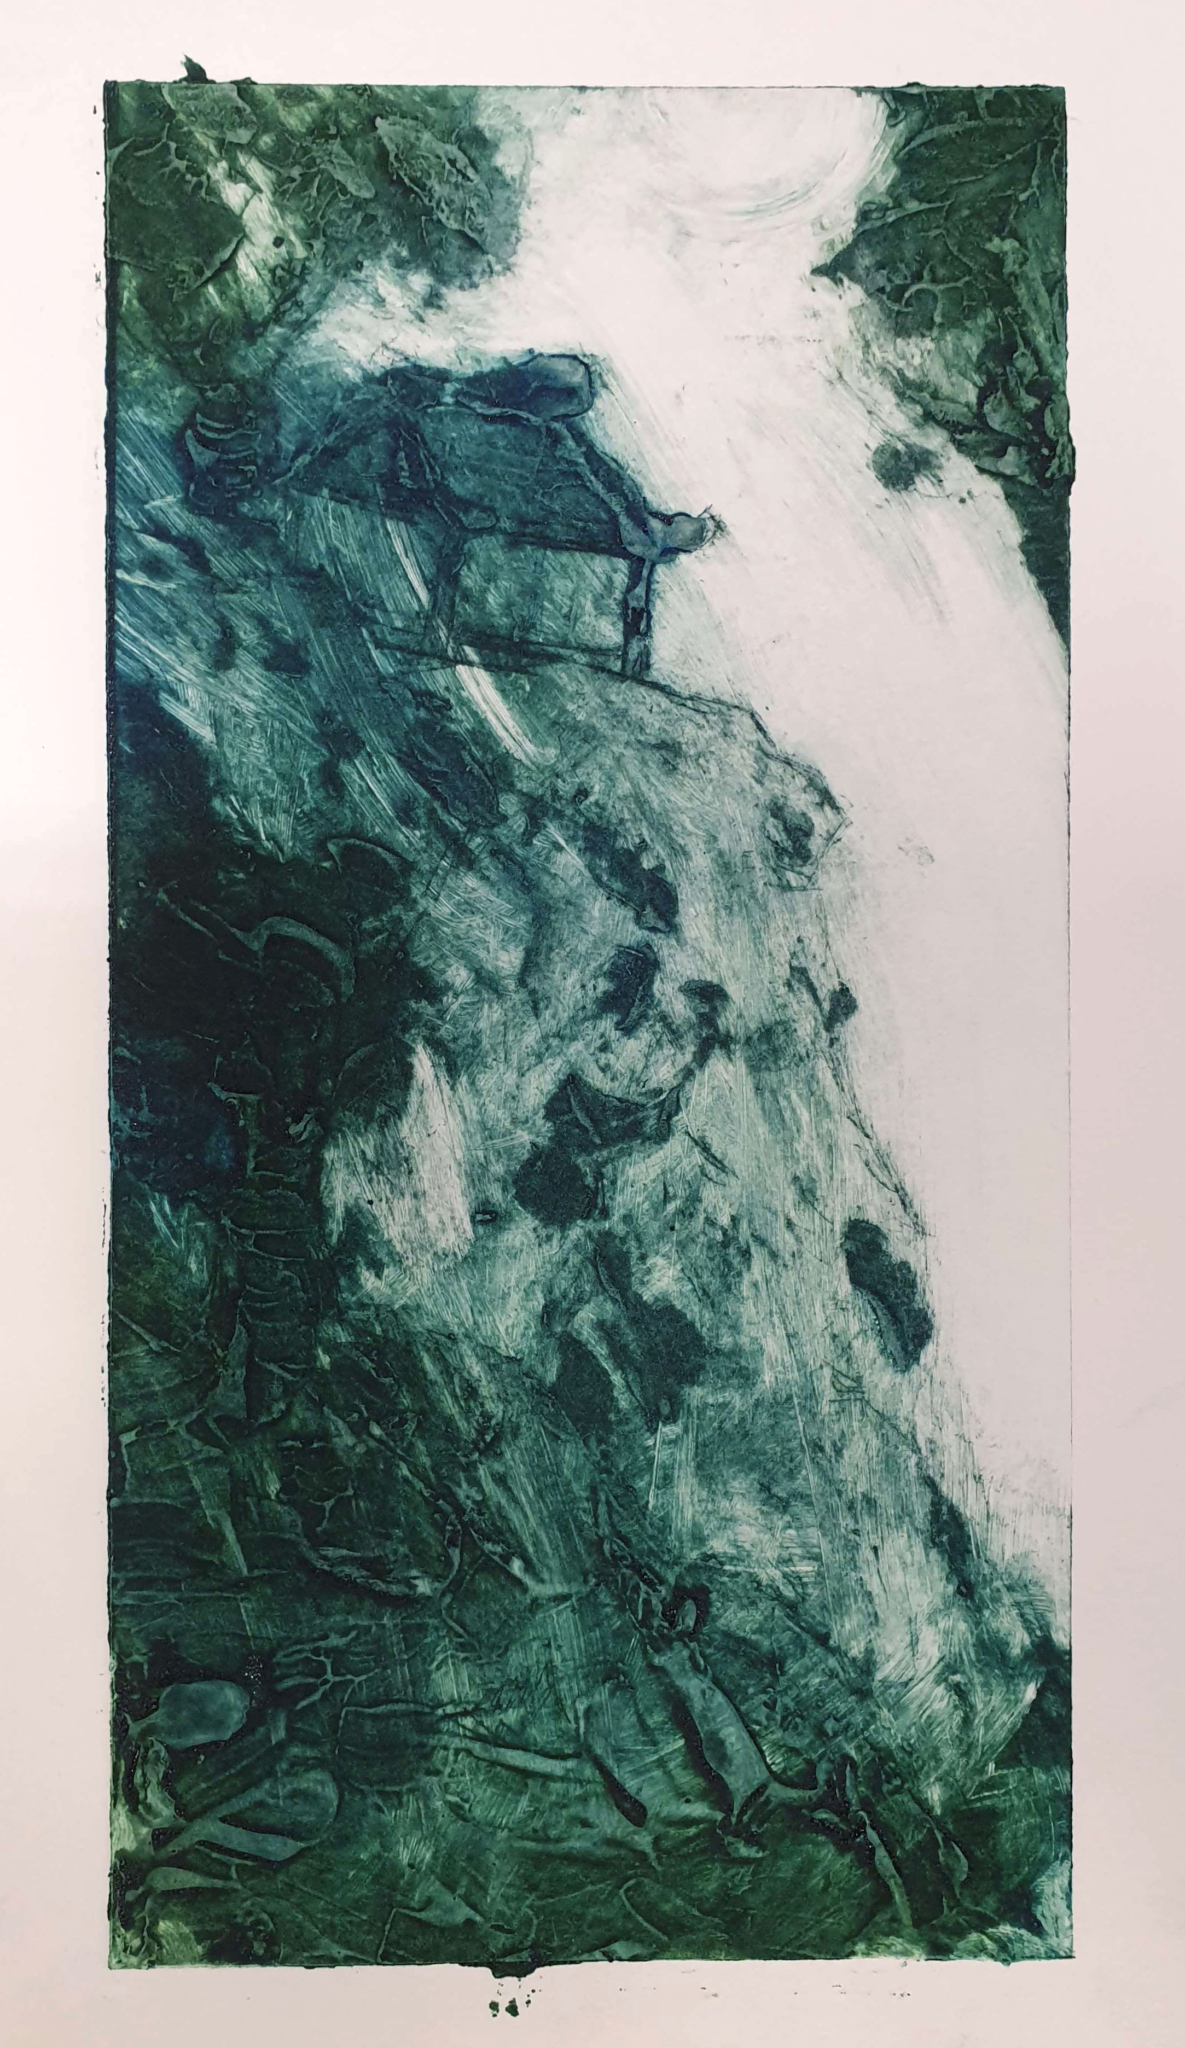
I am quite happy with the bicycle wrecks – I was able to take multiple prints of that one, and learn how much the amount of ink and rubbing affects the outcome. The cliffside abode was also rather successful. The less that can be said about the final, left-untitled landscape the better: A lot of the detail in it is unfortunately obscured by the dark tone of the ink.
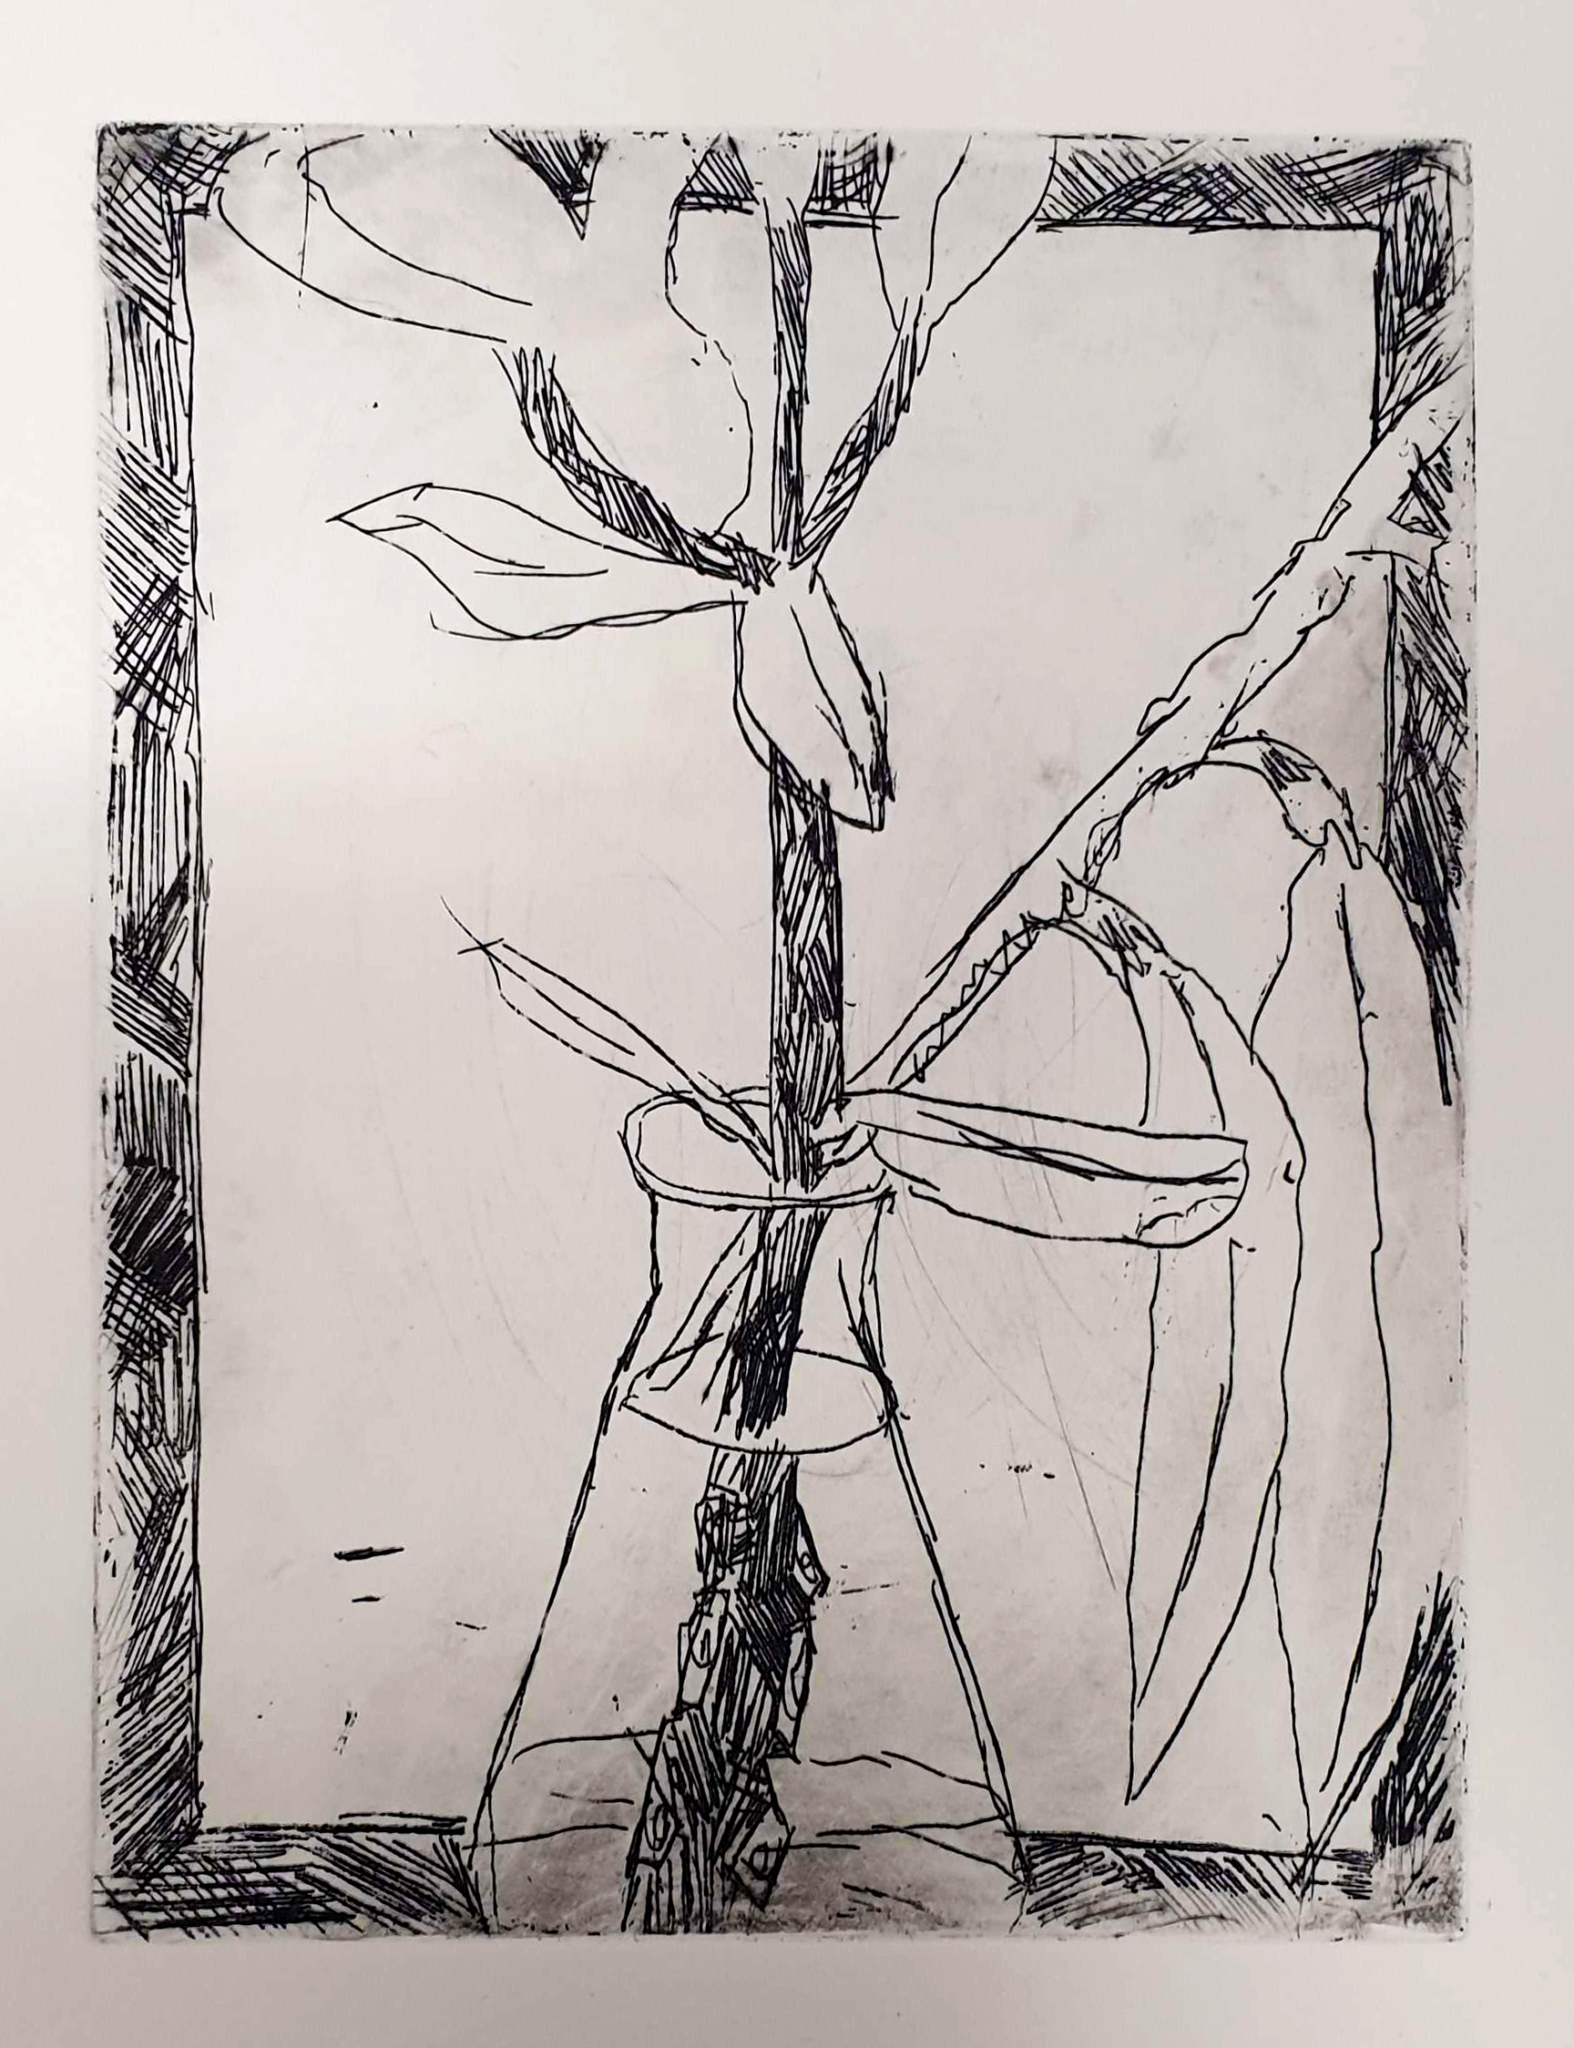
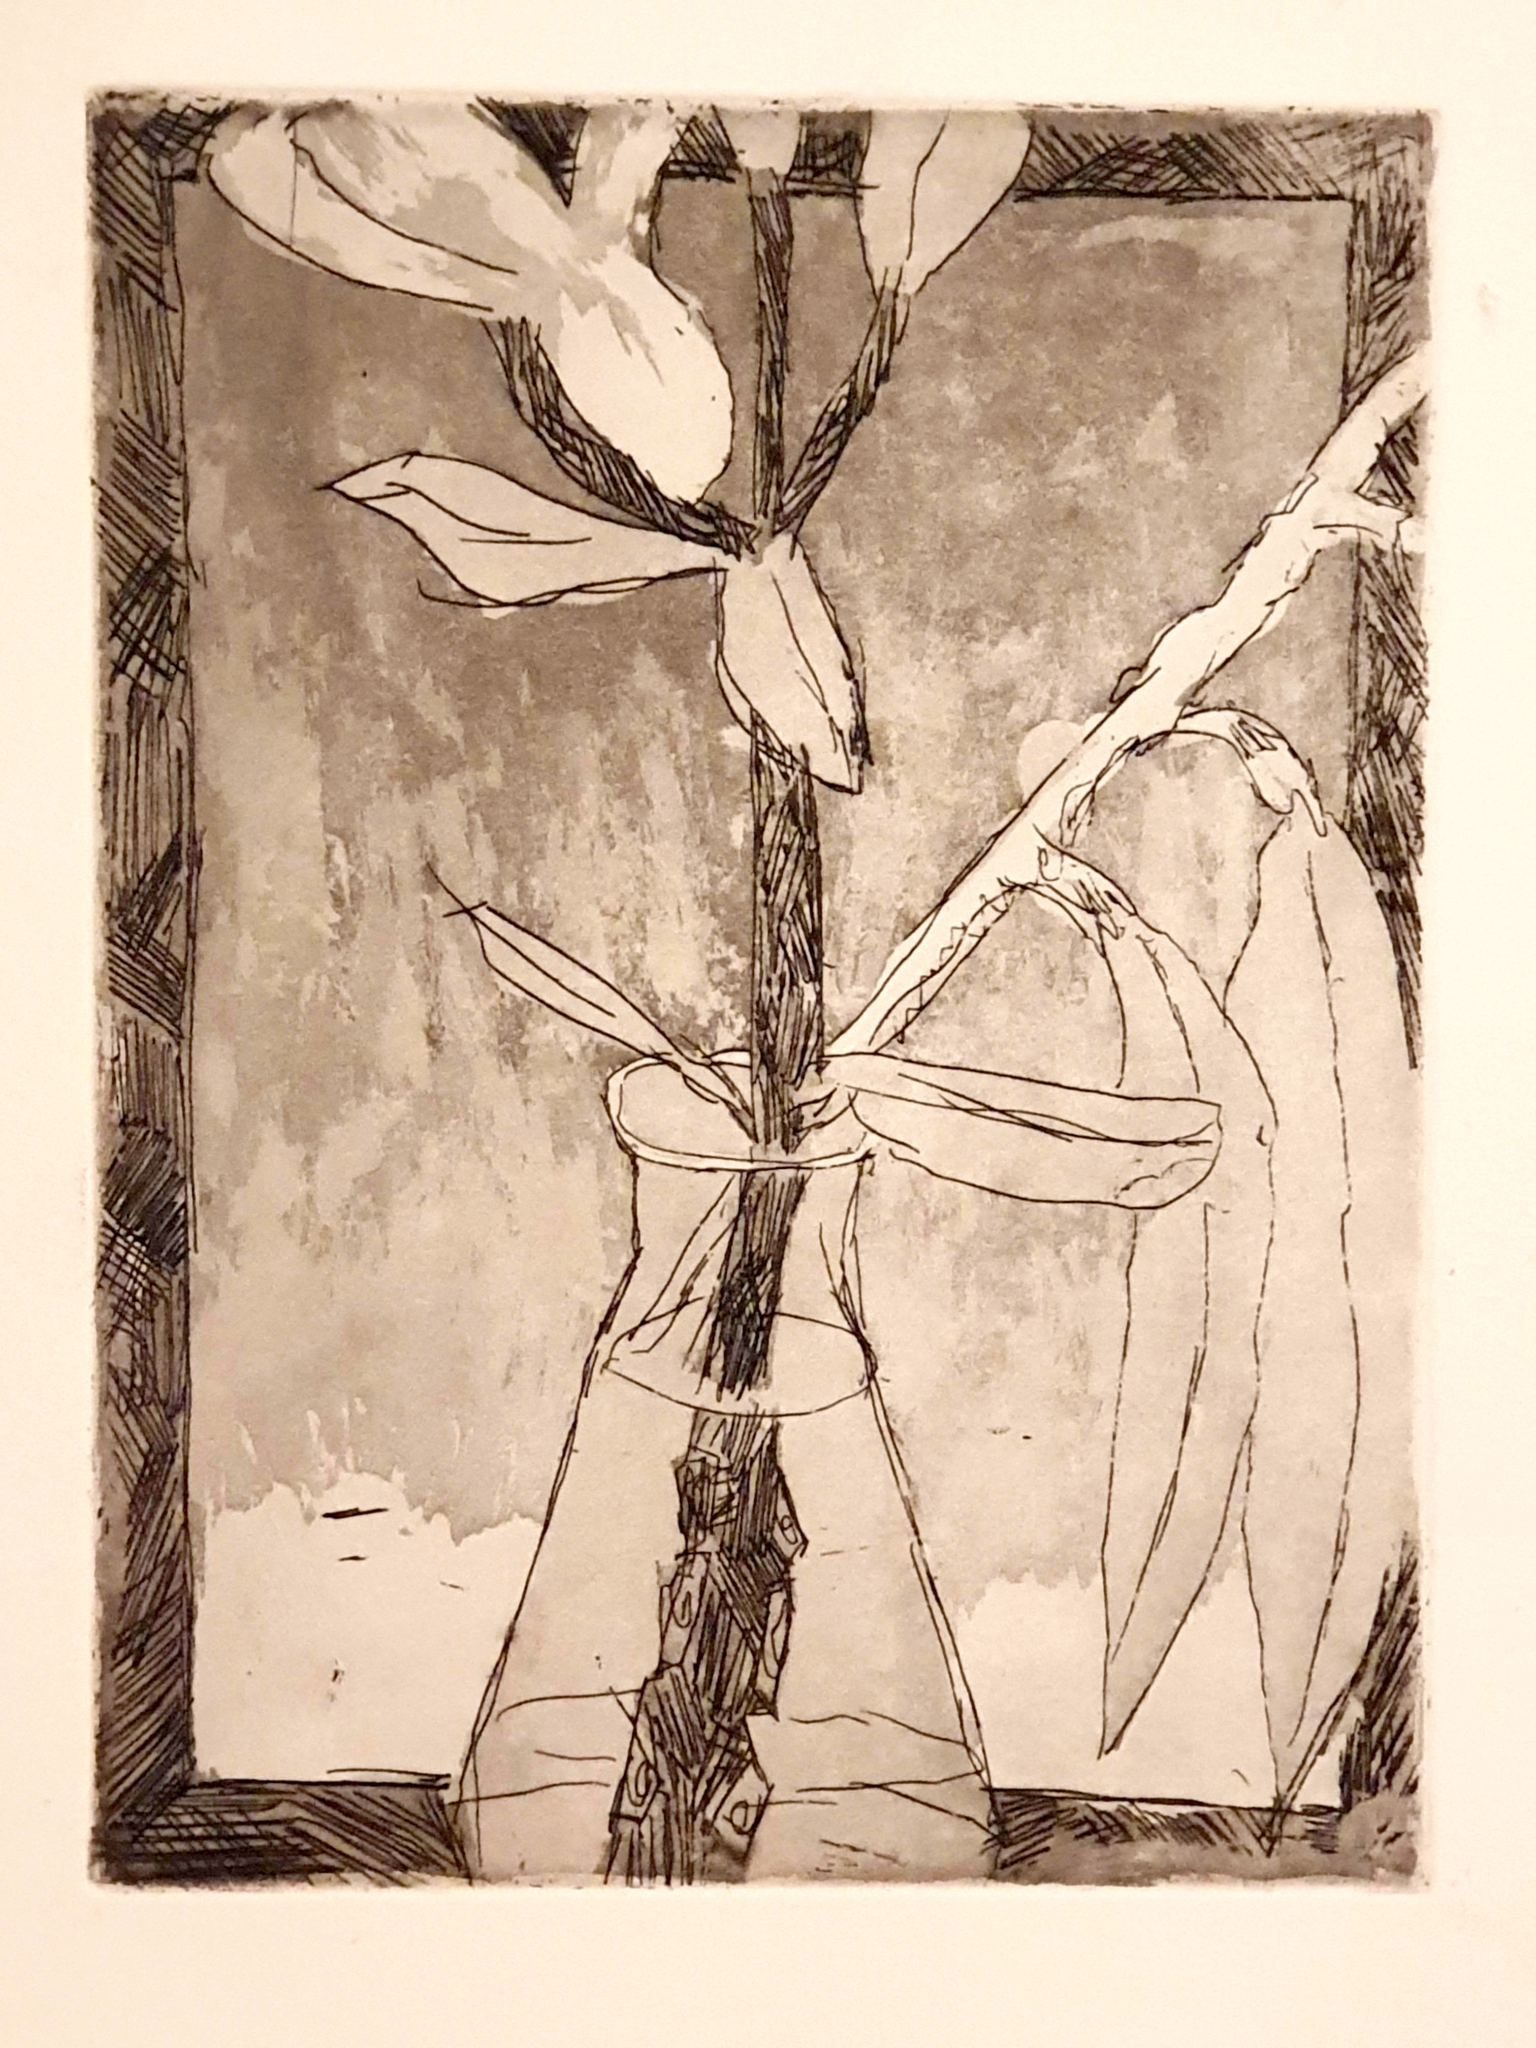
Next it was time to play with acid! Well, not play – you actually ought to be careful around that stuff. Etching and aquatint work by applying some forms of resinous resist – “hard ground” – into copper plates and then selectively removing parts of it. The plate can then be submerged in acid for a time, and the acid dissolves the surface of the plate. The plates are then used for intaglio printing.
The etching alone got somewhat boring results, at least for me; I saw other students get much better and livelier ones. The process was also tedious for what amounted to something rather similar to drypoint printmaking. The aquatint, however, was much more fruitful! I am particularly proud of the broken and fairly painterly background I managed to create through progressive applications of stop-out and short acid baths for the plate. The very bottom is a bit too rough, but that was before I got the hang of the technique. I would like to experiment with aquatint techniques more in the future, as the results seem varied and expressive. The process is still a bit of a pain though.
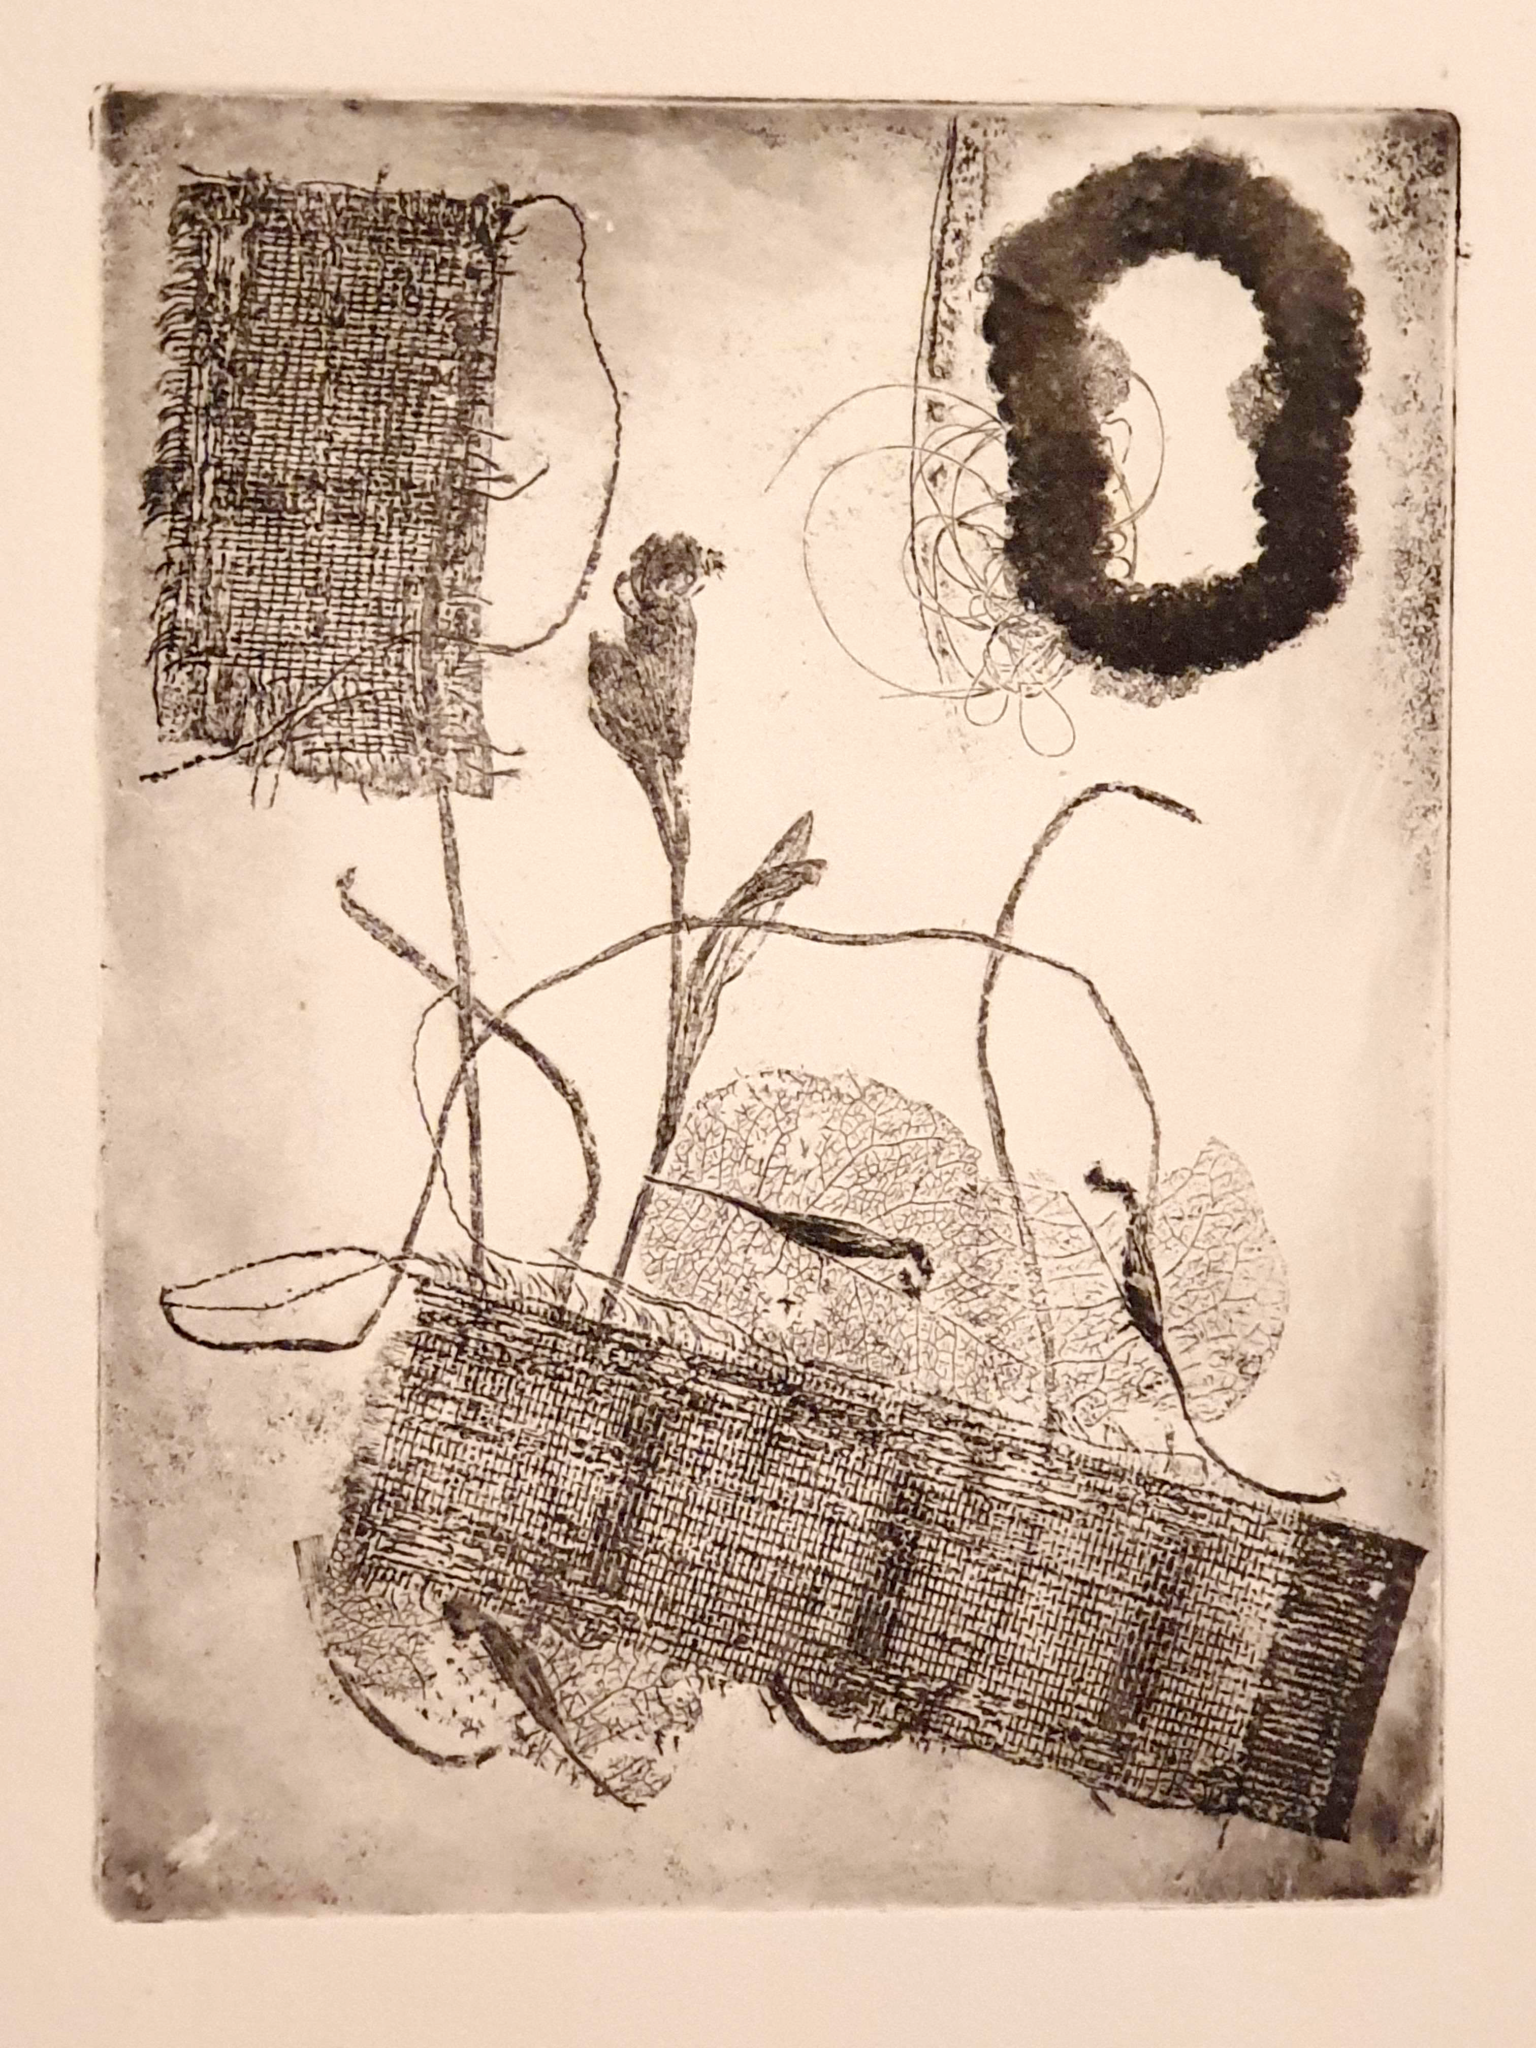
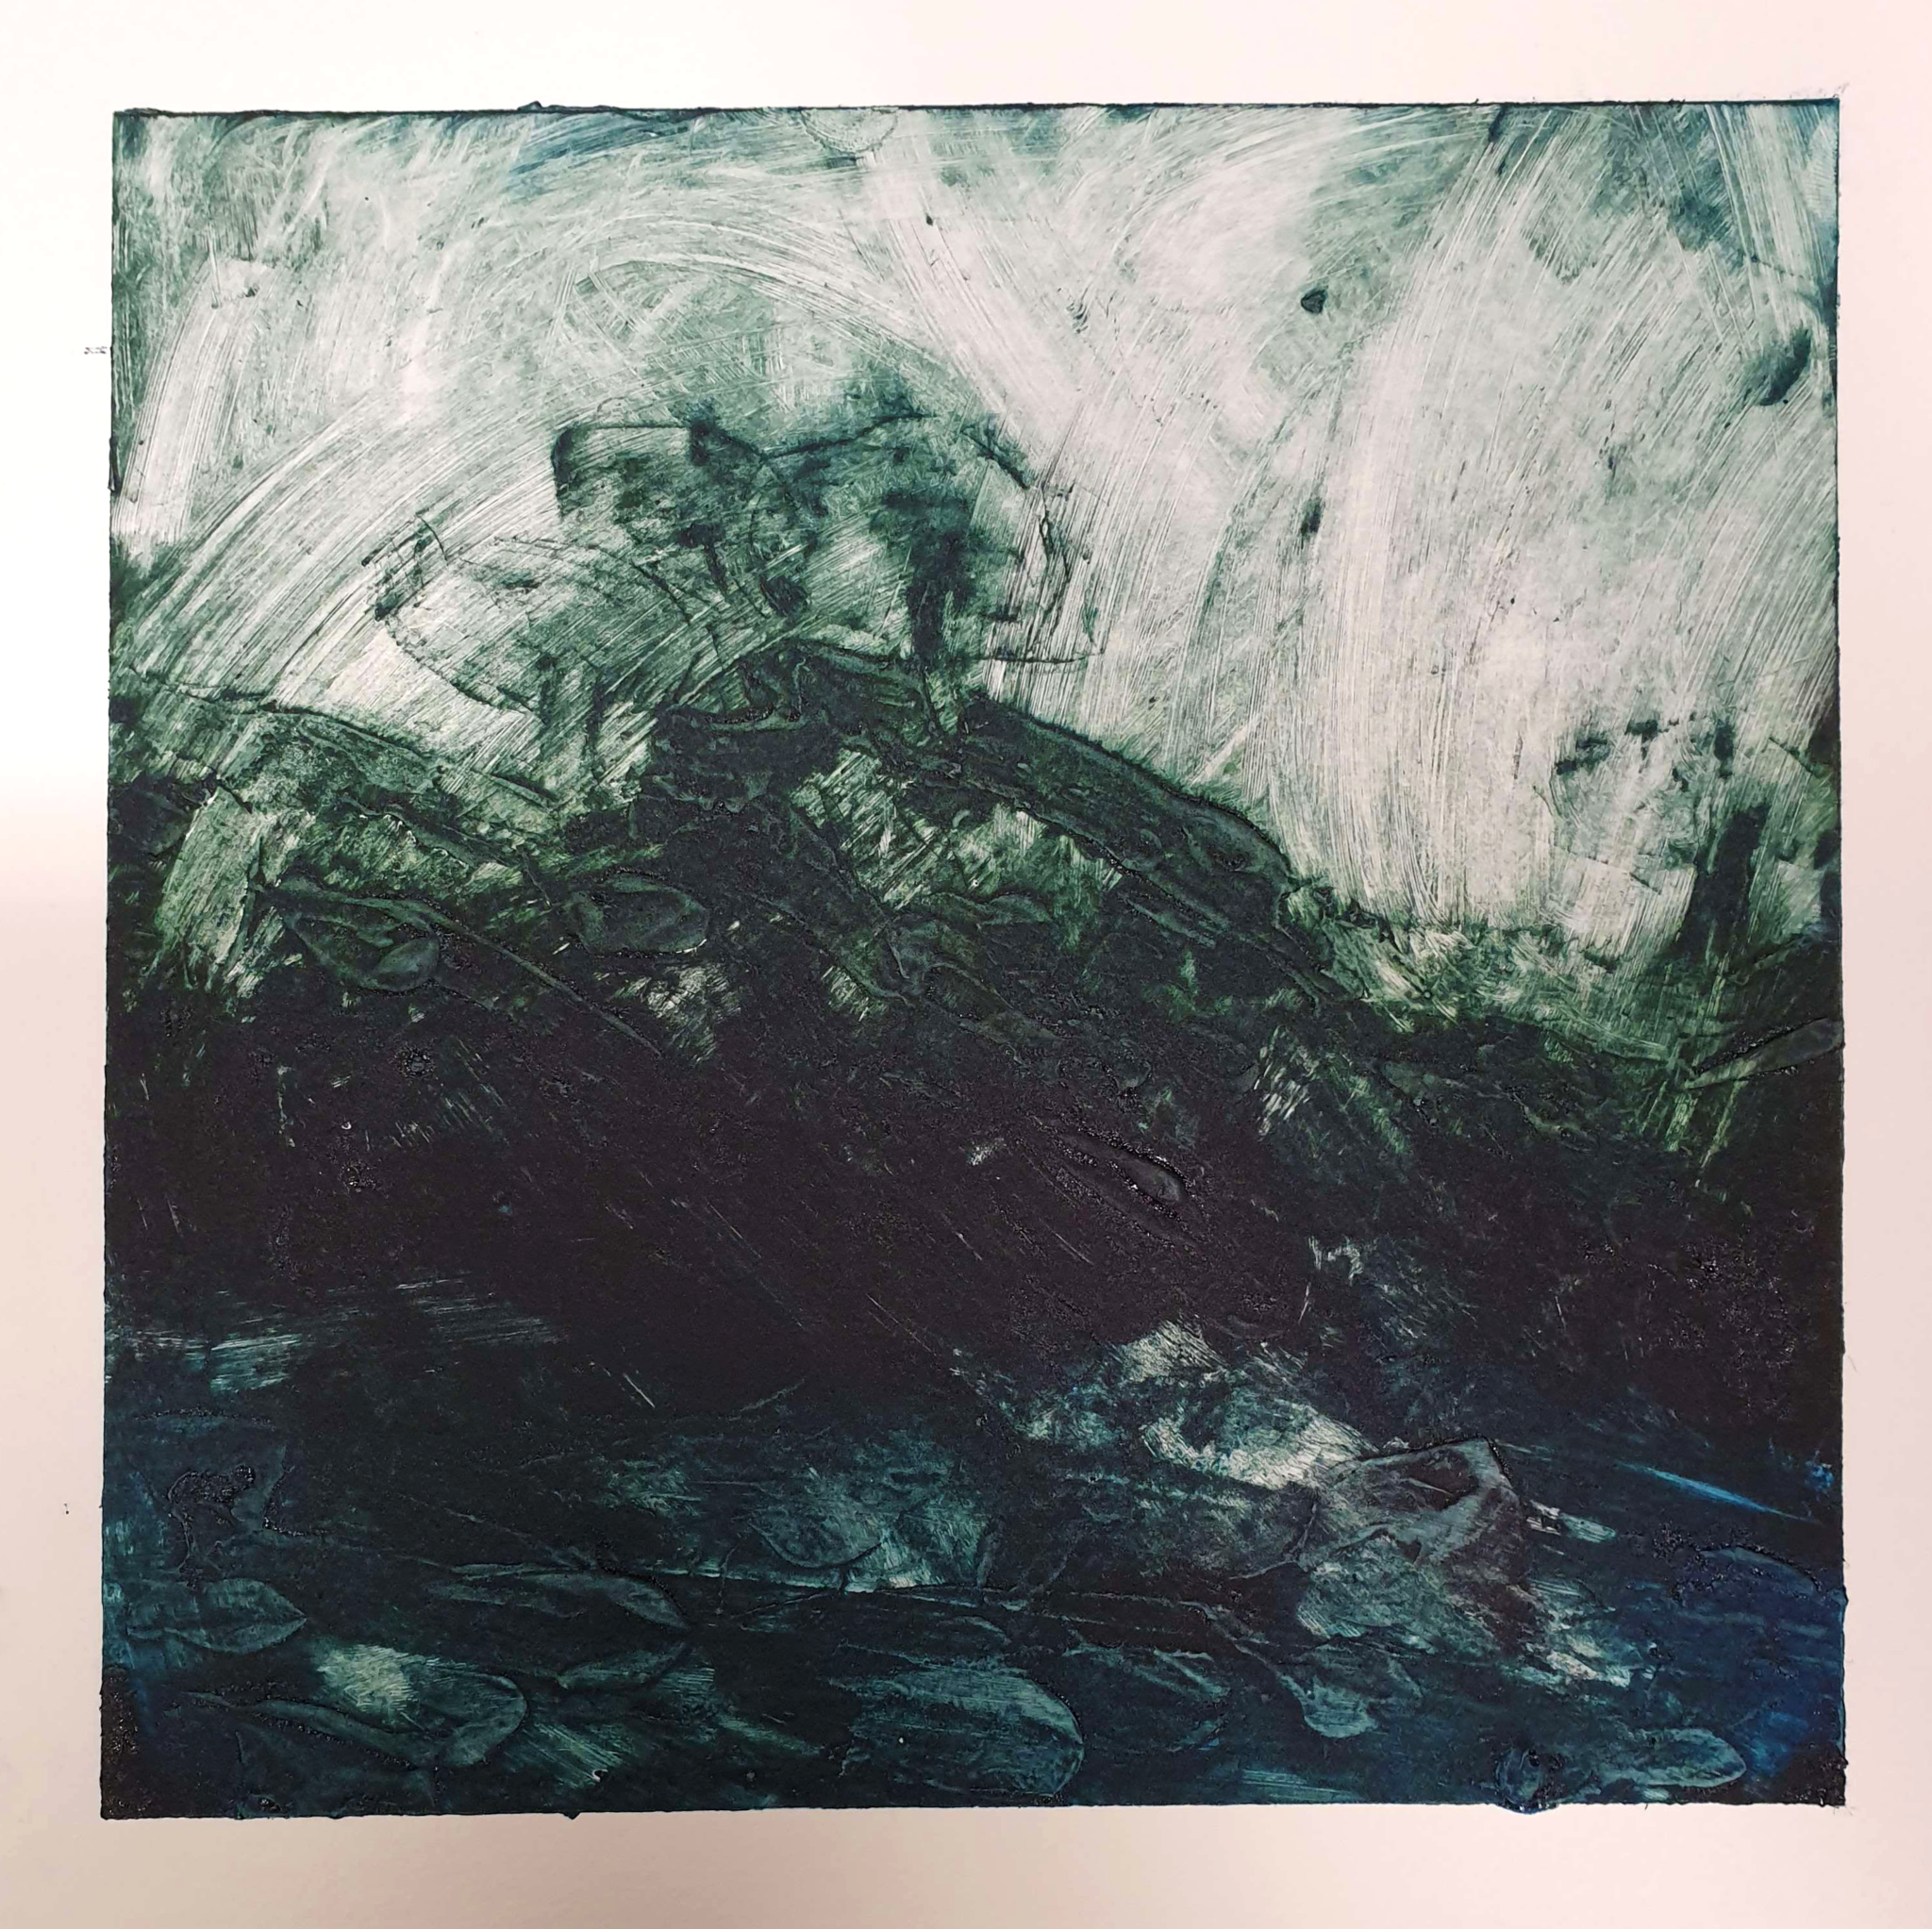
After we had the hang of the acid-etching process we moved on to Soft Ground technique, which also utilizes it. The difference is that the resist applied is soft, rather than hard. The softness of the resist can then be utilized by pressing various thin and soft objects to it with the printing press, creating holes in the resist through which the acid can then act. The printing process itself is the same as for etching and aquatint.
The textures this technique creates are phenomenal: even though this was a rather quick experiment for us, I think the result is quite pleasing due to the variety created by the process. I have to admit that using various found objects in an abstract configuration like this makes me feel like I had limited creative input, and I don’t feel like I fully “own” the piece. Still, it was a great learning experience, and I would like to create something more intricate with the technique – perhaps trying to create something representative and only utilizing different objects for the textures. A portrait or a landscape, perhaps – I tend towards more representative work in general.
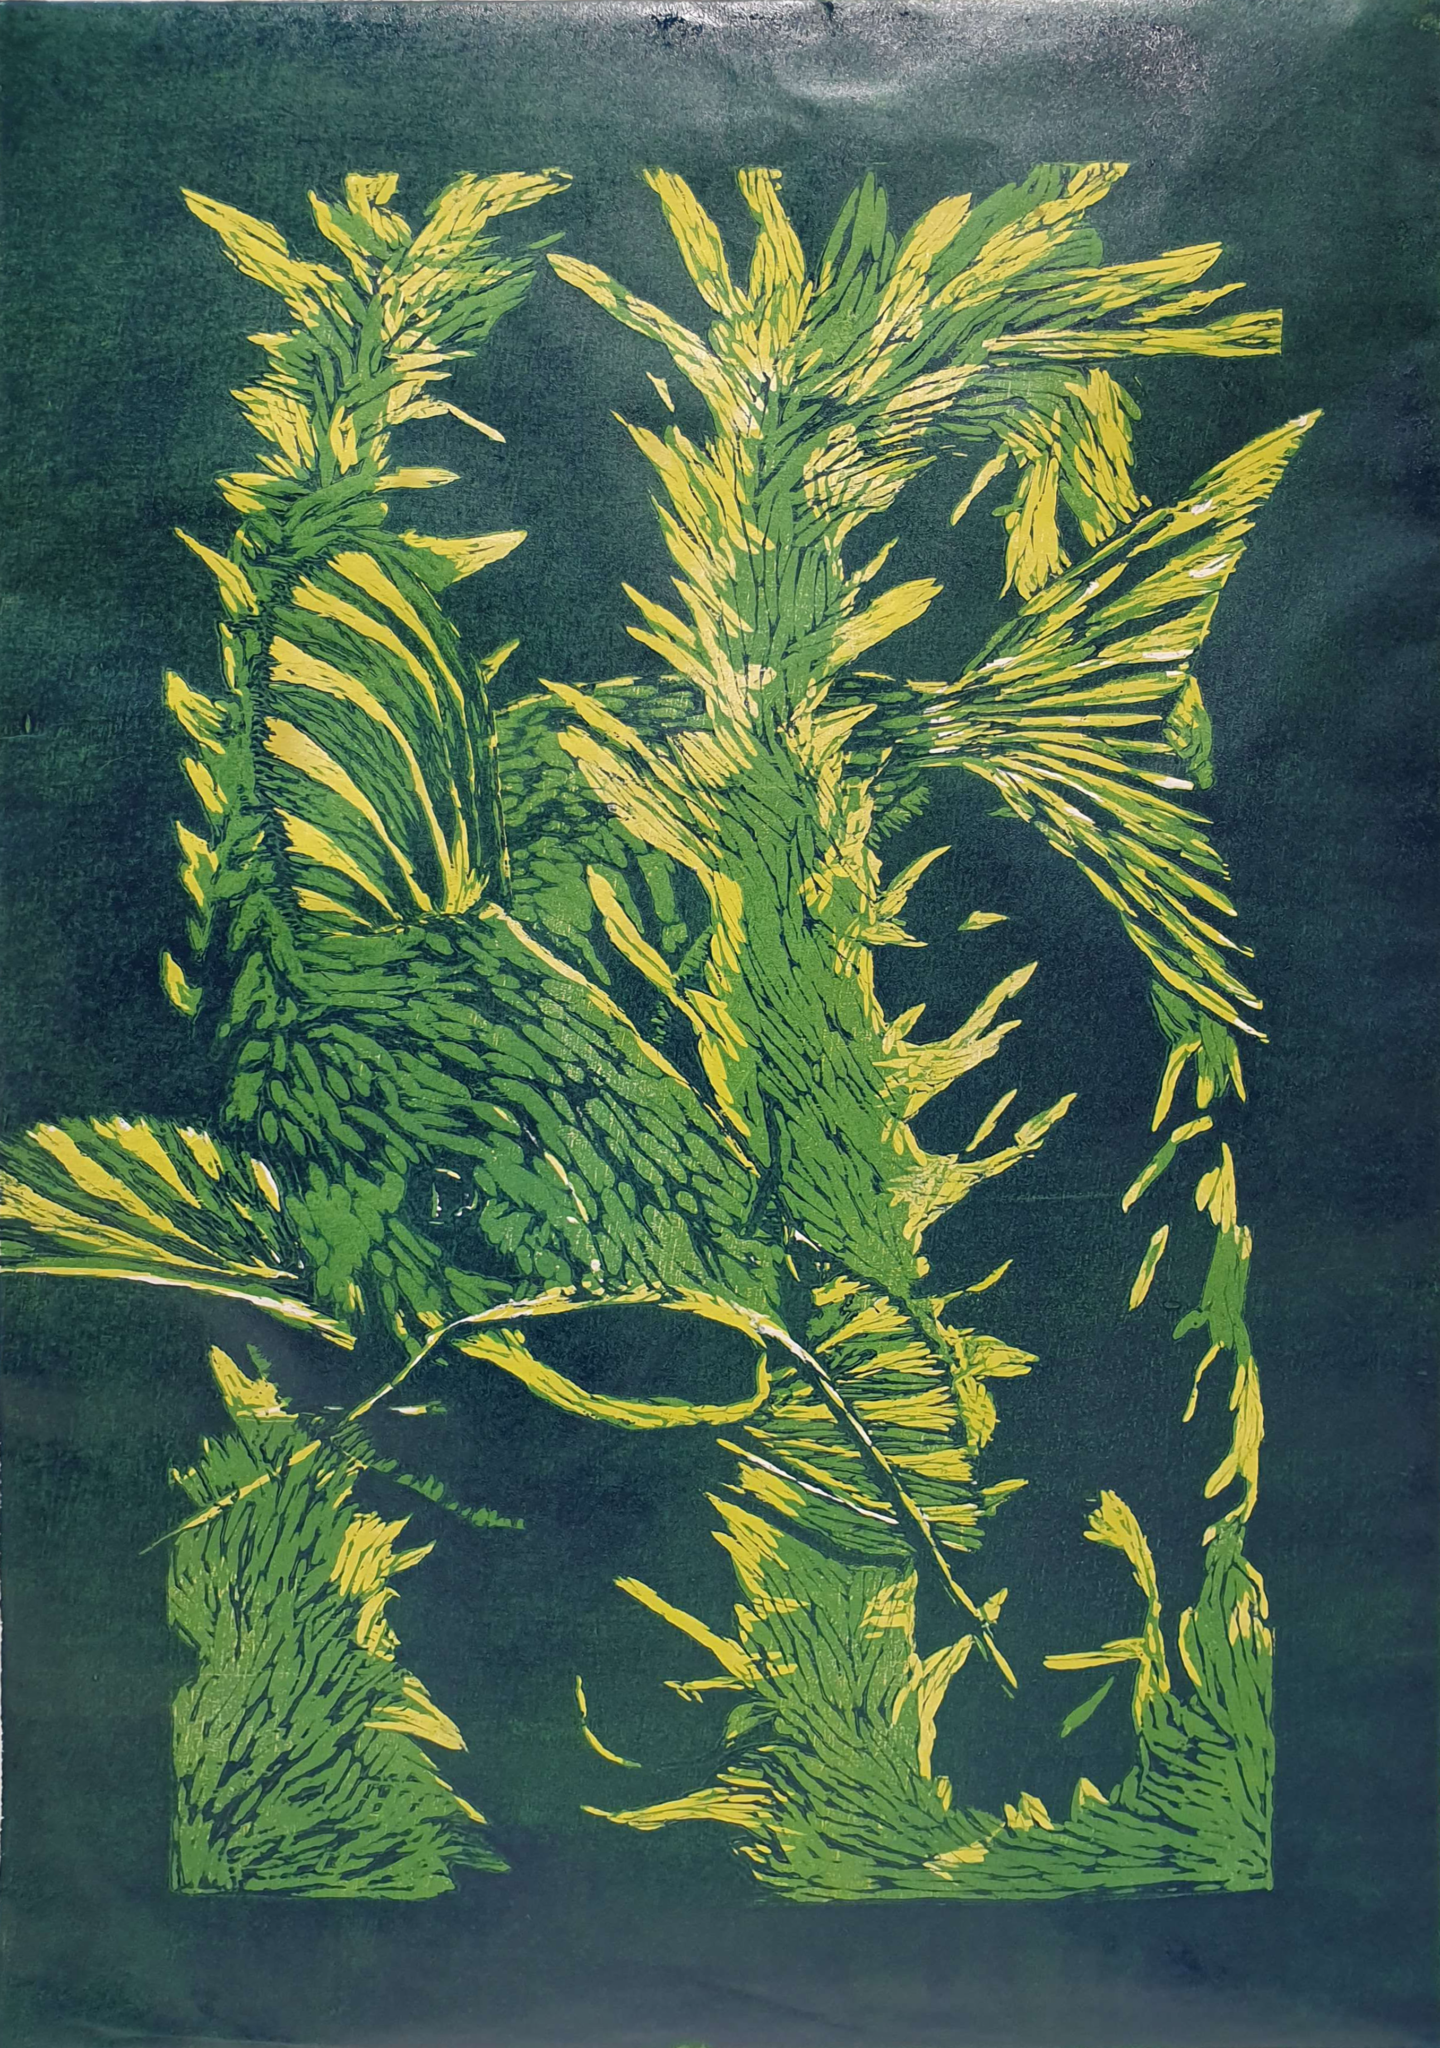
Last but definitely not least we did woodcut oil printing. Unlike the other intaglio processes, woodcut is a form of relief printmaking – the raised surfaces left are going to hold the ink, instead of the recesses. I had previous experience in the technique due to attending a course by Maria Pihl before. Having previous experience allowed me to go for a multicolour plate reduction method – but I still went overtime in the class.
I love the results though. All that chiseling away at wood and applying ink on the plate really paid off. I love the colours created – they’re especially luminous in real life, as it’s printed with somewhat transparent ink on thin rice paper: the photo really doesn’t do it justice. The various textures created by woodcut printmaking are also really exquisite, and the directions of the cuts you make show up in the final product, emphasizing movement and form. Woodcut printmaking is definitely something I’ll keep on doing in the future, and not only because I’m attending one of Maria’s classes until the next summer. It is simply an enjoyable process that gets very beautiful results.
The course was overall pleasant but very busy: Time was definitely a limited resource. We only got introduced to these techniques and once we were done with one, it was time for another. A hectic experience, but very educational one. The classes were held at Ratamo – an old trainyard turned into a gallery and a printmaking/photography center – where it’s possible for artists and advanced hobbyists to use the printmaking facilities for a modest fee. If we want to continue exploring the techniques further, the resources to do so are available there.
One thought on “Experimental Printmaking”